GCP Integration
A Google Cloud Platform (GCP) integration with Cloudhouse Guardian (Guardian) allows you to automatically sync and detect nodes from your GCP instance(s) to be added to Guardian for monitoring and evaluation. This topic describes the steps you need to complete to setup a GCP integration to Guardian.
Dependencies
To add a GCP integration, you need the following:
-
A GCP account.
-
One or more of the following services enabled within your GCP instance:
-
Compute Engine.
-
Kubernetes Engine.
-
Big Query.
-
Cloud DNS.
-
Cloud KMS.
-
Cloud Logging.
-
Cloud SQL.
-
IAM.
-
Storage Buckets.
-
-
Add a GCP Integration
Integrating GCP with Guardian establishes a seamless connection to streamline the process of syncing and monitoring your GCP nodes, ensuring they are efficiently scanned in Guardian.
To add a GCP integration to Guardian, complete the following:
-
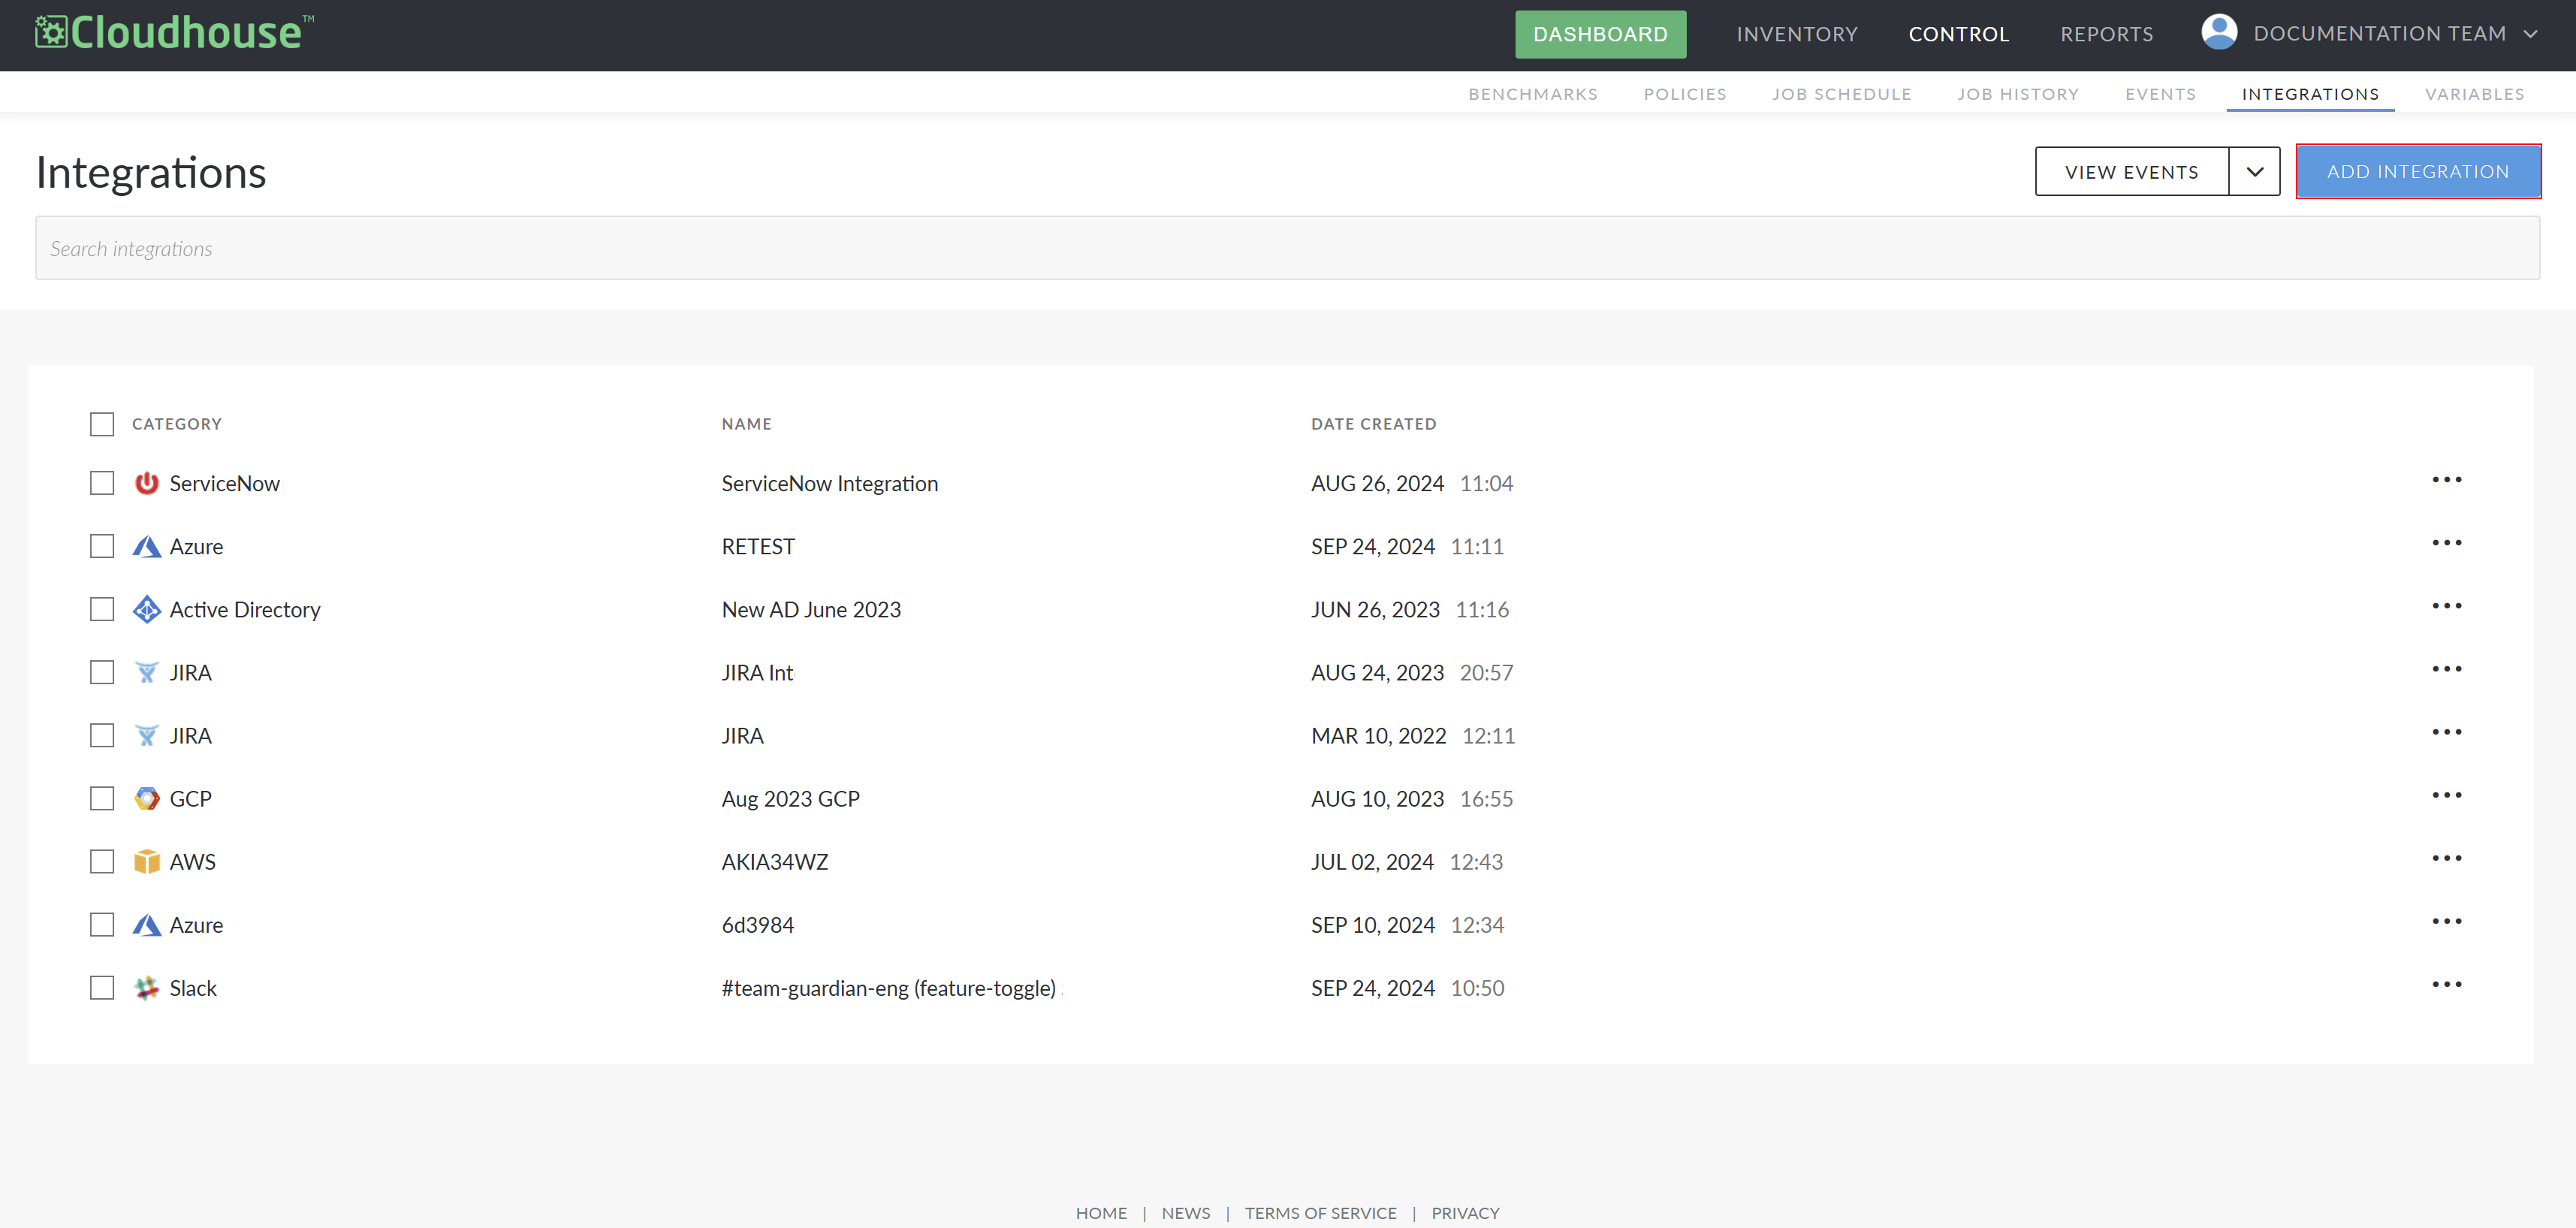
In the Guardian web application, navigate to the Integrations tab (Control > Integrations) and click Add Integration. The Add Integration page is displayed.
-
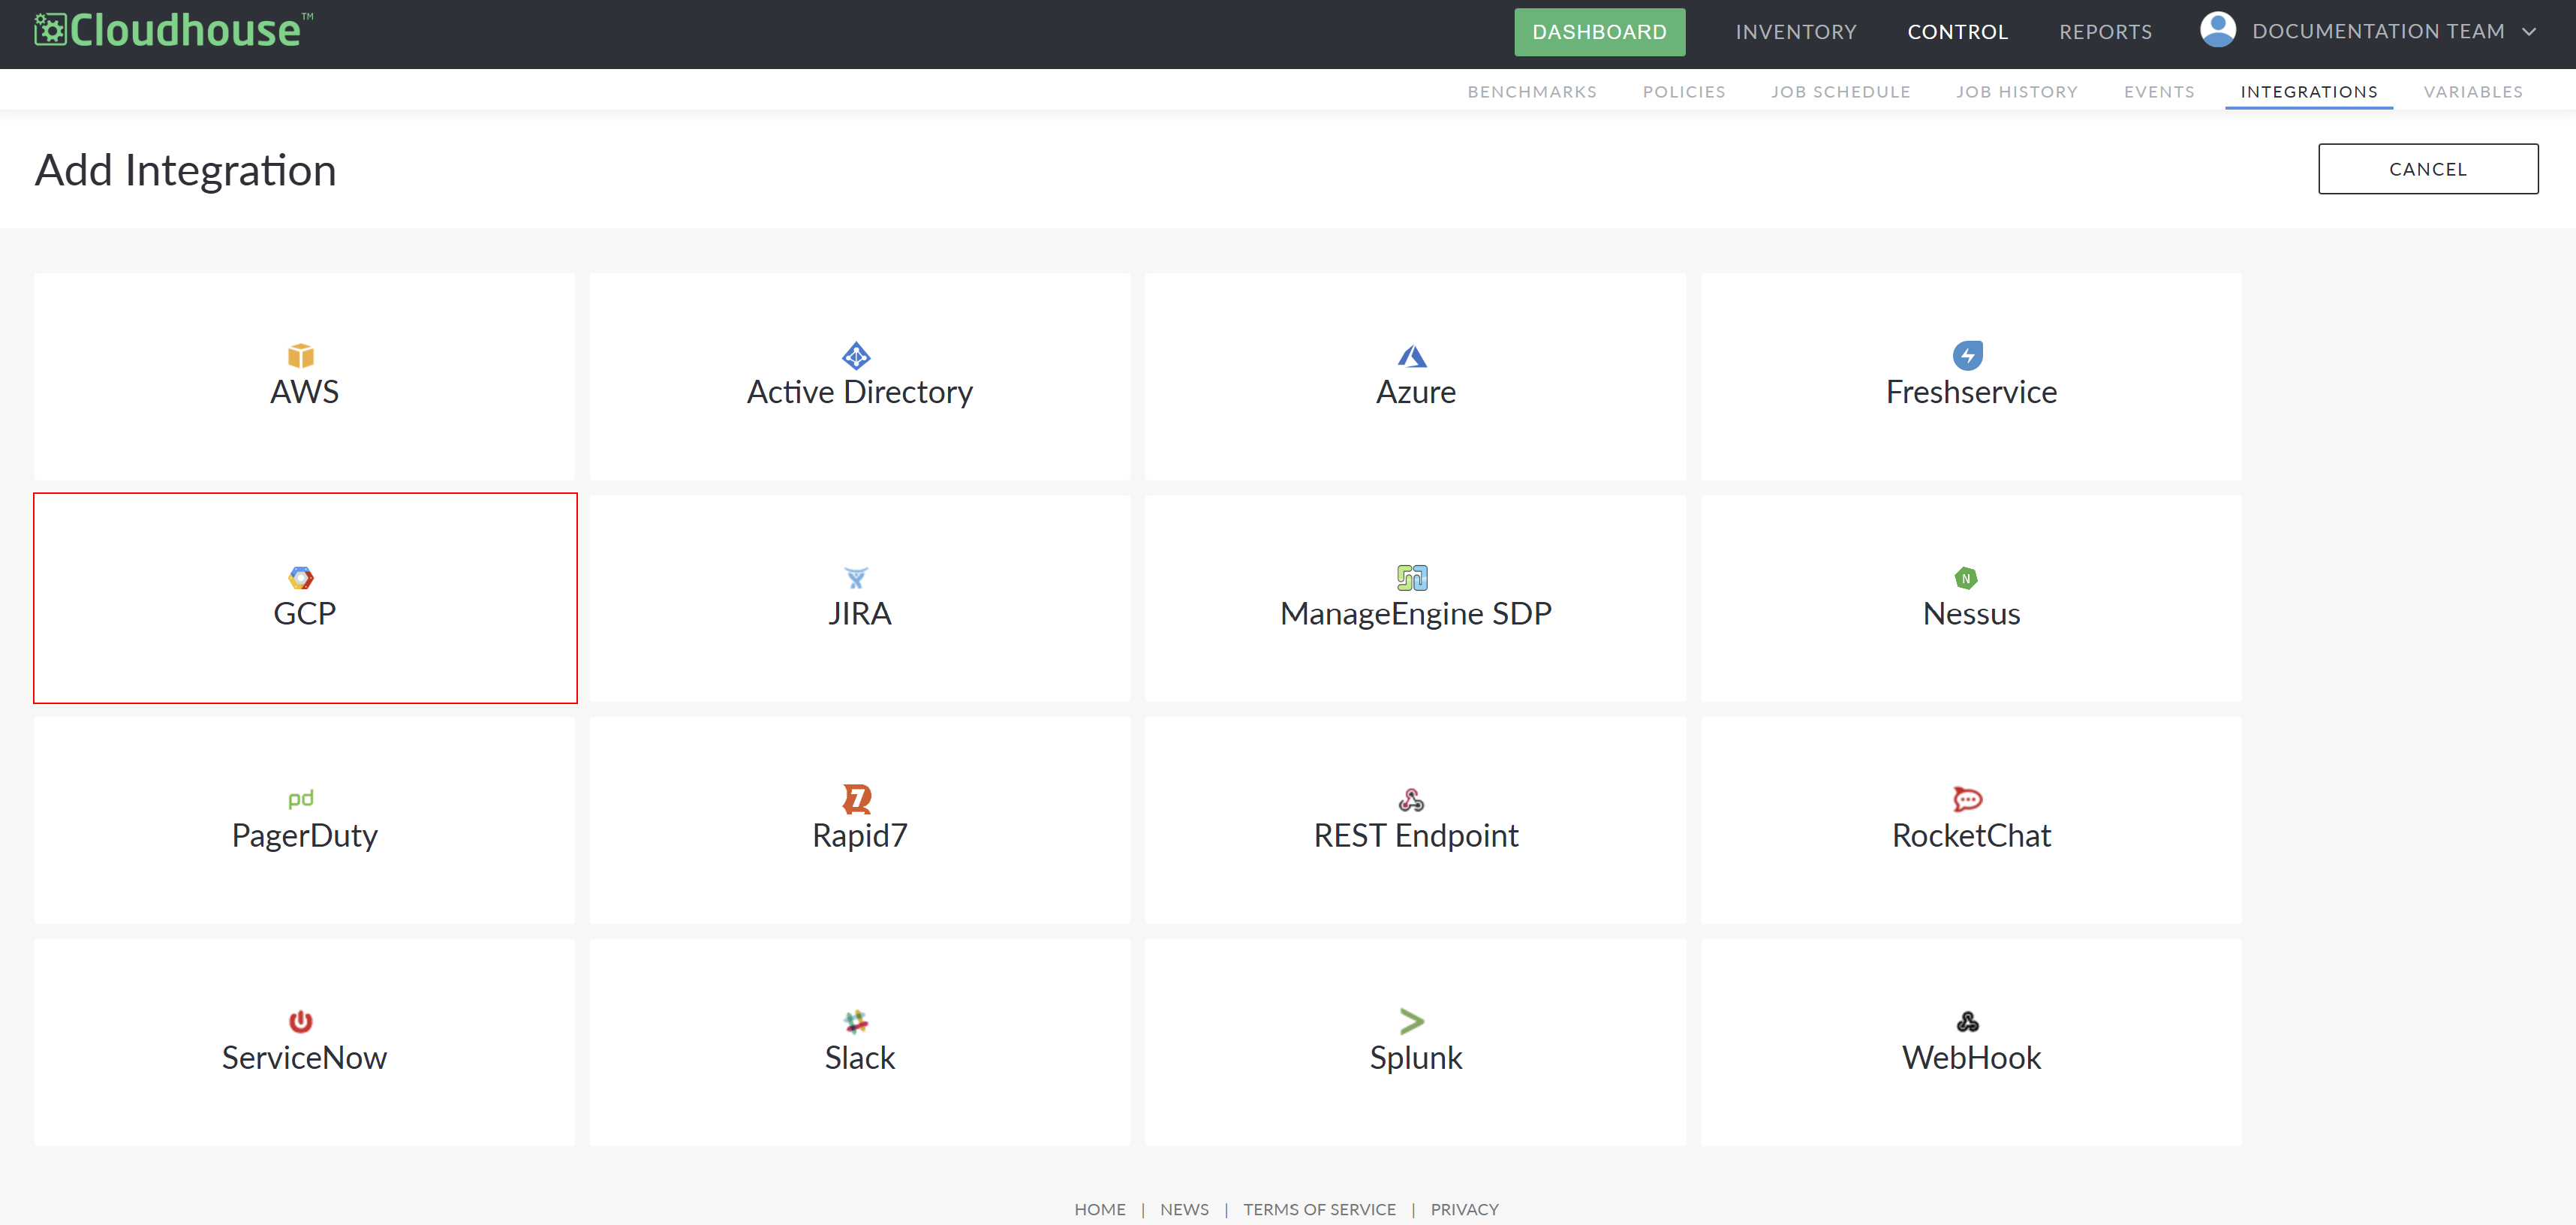
Select GCP from the list of available integrations. Here, you are required to complete the following options:
Option
Description
Name field
The display name for the integration within Guardian. This name is how you will identify the integration among all others configured in your Guardian instance, so ensure it is descriptive.
Connection Manager Group drop-down list
The Connection Manager group that is responsible for scanning and retrieving your GCP node(s). Select a Connection Manager group from the drop-down list.
GCE service account JWT upload field
The JSON Web Token (JWT) JSON file that is required to verify Guardian's access to your GCP instance. For more information on how to generate a JWT, see Google Cloud Platform Service Account.
Check things you want to detect checkboxes The option(s) you want to add to Guardian for monitoring. Select the checkbox(es) you want to detect. For example, ‘Big Query’.
Note: If the Compute Engine checkbox is selected from the list of Check Things You Want To Detect checkboxes, additional fields are displayed to allow you to configure what aspects of the GCP Compute Engine to import to Guardian. For more information on how to configure these settings, see GCP Compute Engine .
Ignore Ephemeral Nodes checkbox Option to ignore ephemeral nodes. If selected, ephemeral nodes are not imported and not included in node scans.
Remove Ephemeral Nodes checkbox Option to remove ephemeral nodes. If selected, ephemeral nodes are removed from the Guardian import list.
Automatically start monitoring and scanning newly detected nodes checkbox
Option to automatically start monitoring and scanning your nodes once the GCP integration has been created. If selected, the imported nodes are automatically added to the Monitored tab (Inventory > Monitored) for regular scanning. Here, you can apply policies, create node groups, and schedule regular scans. For more information, see Monitored Nodes.
If not selected, the nodes are added to the Detected tab (Inventory > Detected) for processing. To monitor the detected nodes, you must move them to the Monitored tab. For more information, see Detected Nodes.
-
Once you have set the correct values for each of the options displayed, click Done to create the GCP integration.
If successful, a confirmation message is displayed and the GCP integration is added to the Integrations tab of your Guardian instance. If unsuccessful, an error message is displayed. Use the information displayed in the error message(s) to troubleshoot the values in your GCP Integration options.
Integration Outcomes
When integrating GCP with Guardian, the following outcomes are expected:
-
The integration stores the credentials that you supply to Guardian securely, within the database.
-
An automatic synchronization (between Guardian and GCP) occurs every two hours. For more information on how to alter this interval, see Job Schedule (Control > Job Schedule).
-
The sync event calls out to GCP using the supplied credentials to return a list of detected nodes and their corresponding details.
-
By default, any nodes that Guardian detects within your GCP instance are automatically stored within the Detected tab for processing.
-
Alternatively, if the Automatically start monitoring and scanning newly detected nodes checkbox is selected, the detected nodes are added to the Monitored tab instead.
Troubleshooting
If you are experiencing issues with your integration, try the following:
-
Verify that the account credentials supplied for the integration are correct.
-
Depending on how the integration was configured, the synced nodes are either displayed on the Detected tab or the Monitored tab.
-
To confirm the status of the integration sync, check the integration sync event in the Events tab (Control > Events) of your Guardian instance. For more information, see Events.
Access Control
When setting up a GCP integration, the following IAM access control permissions are required, in order to sync and scan nodes from the corresponding service(s):
| Service | Permissions |
|---|---|
| Compute Engine | Compute Engine Viewer |
| Kubernetes Engine (GKE) | Compute Engine Viewer Kubernetes Engine Viewer |
| Big Query | Big Query Data Viewer |
| Cloud DNS | DNS Reader |
| Cloud KMS | Cloud KMS CryptoKey Public Key Viewer Cloud KMS Viewer |
| Cloud Logging | Logs Viewer |
| Cloud SQL | Cloud SQL Viewer |
| IAM | Security Reviewer |
| Storage Buckets | Storage Object Viewer |